Activating your Organisation
Once all deployments are complete, activate your organisation using the Participant Portal to begin transacting
Prerequisite: RTGS.global must approve your link prior to activation. You may wish to contact RTGS.global to confirm approval before beginning this step.
Step 1: Locating the Participant Portal
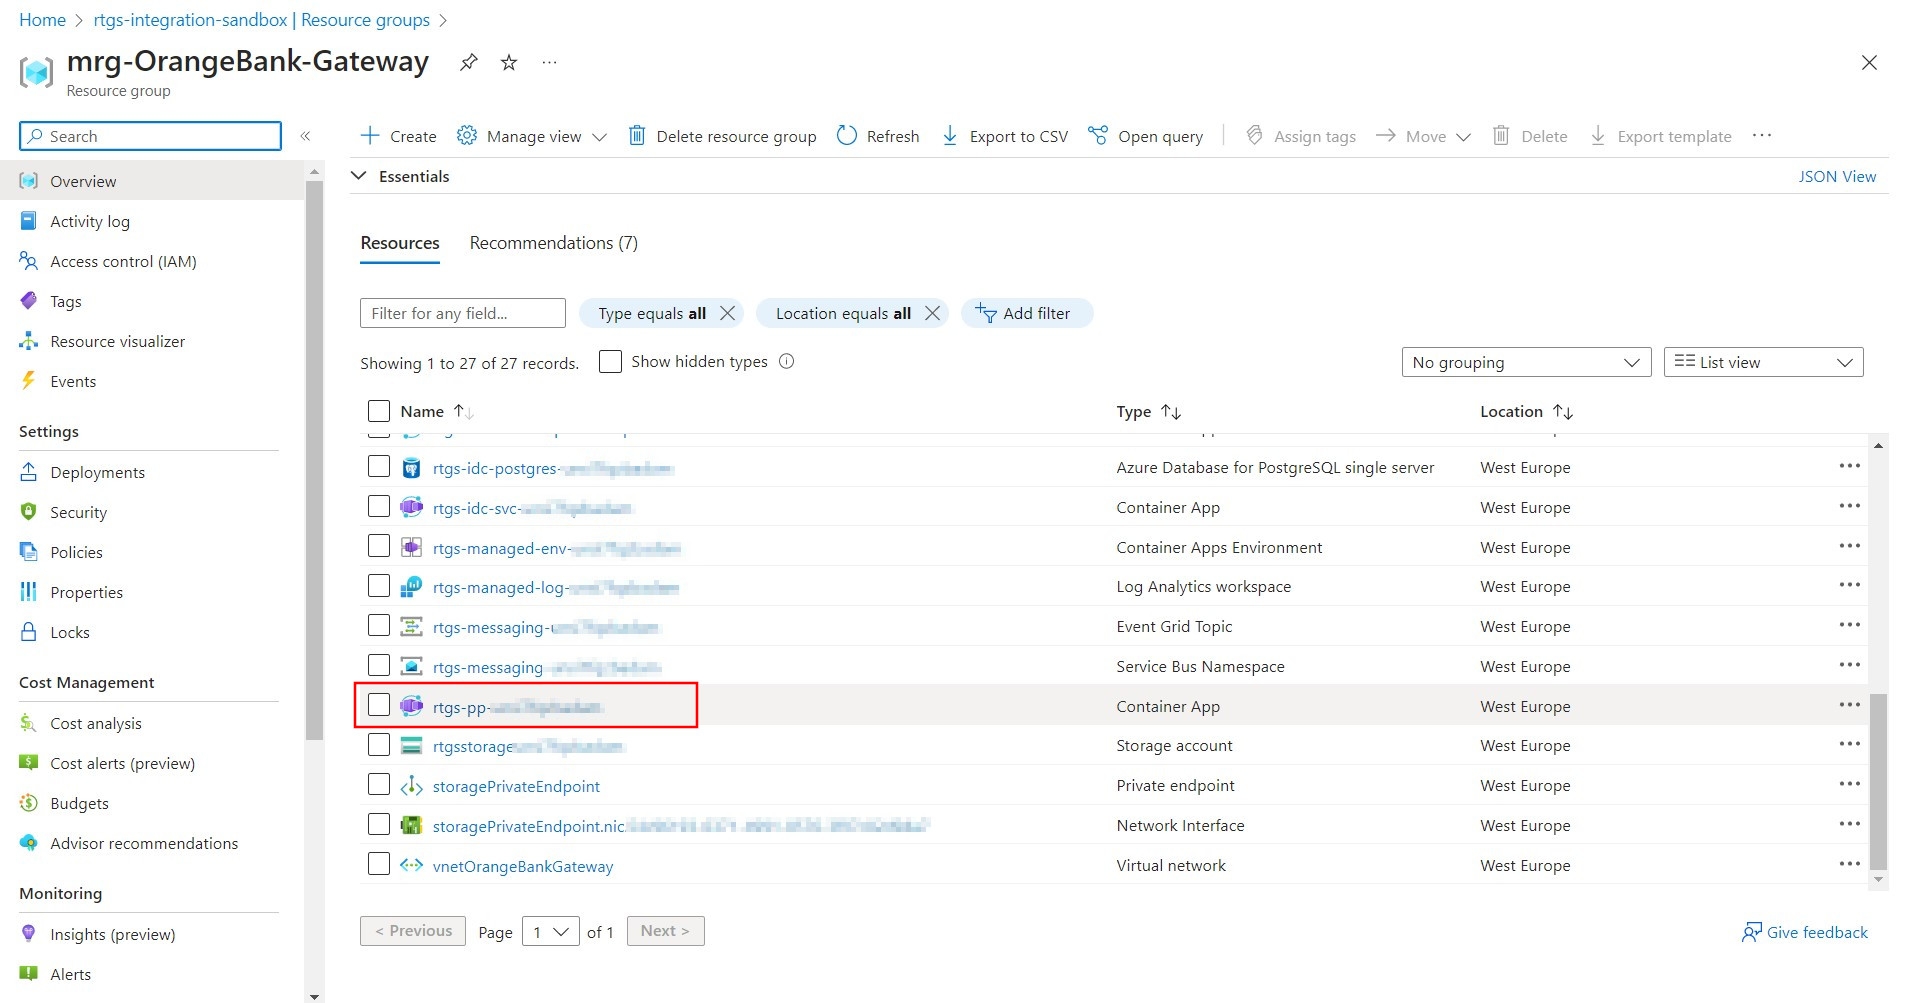
Find the Container App component that has a name beginning with rtgs-pp- as shown in the image below. This Container App was deployed as part of the RTGS.global Gateway.
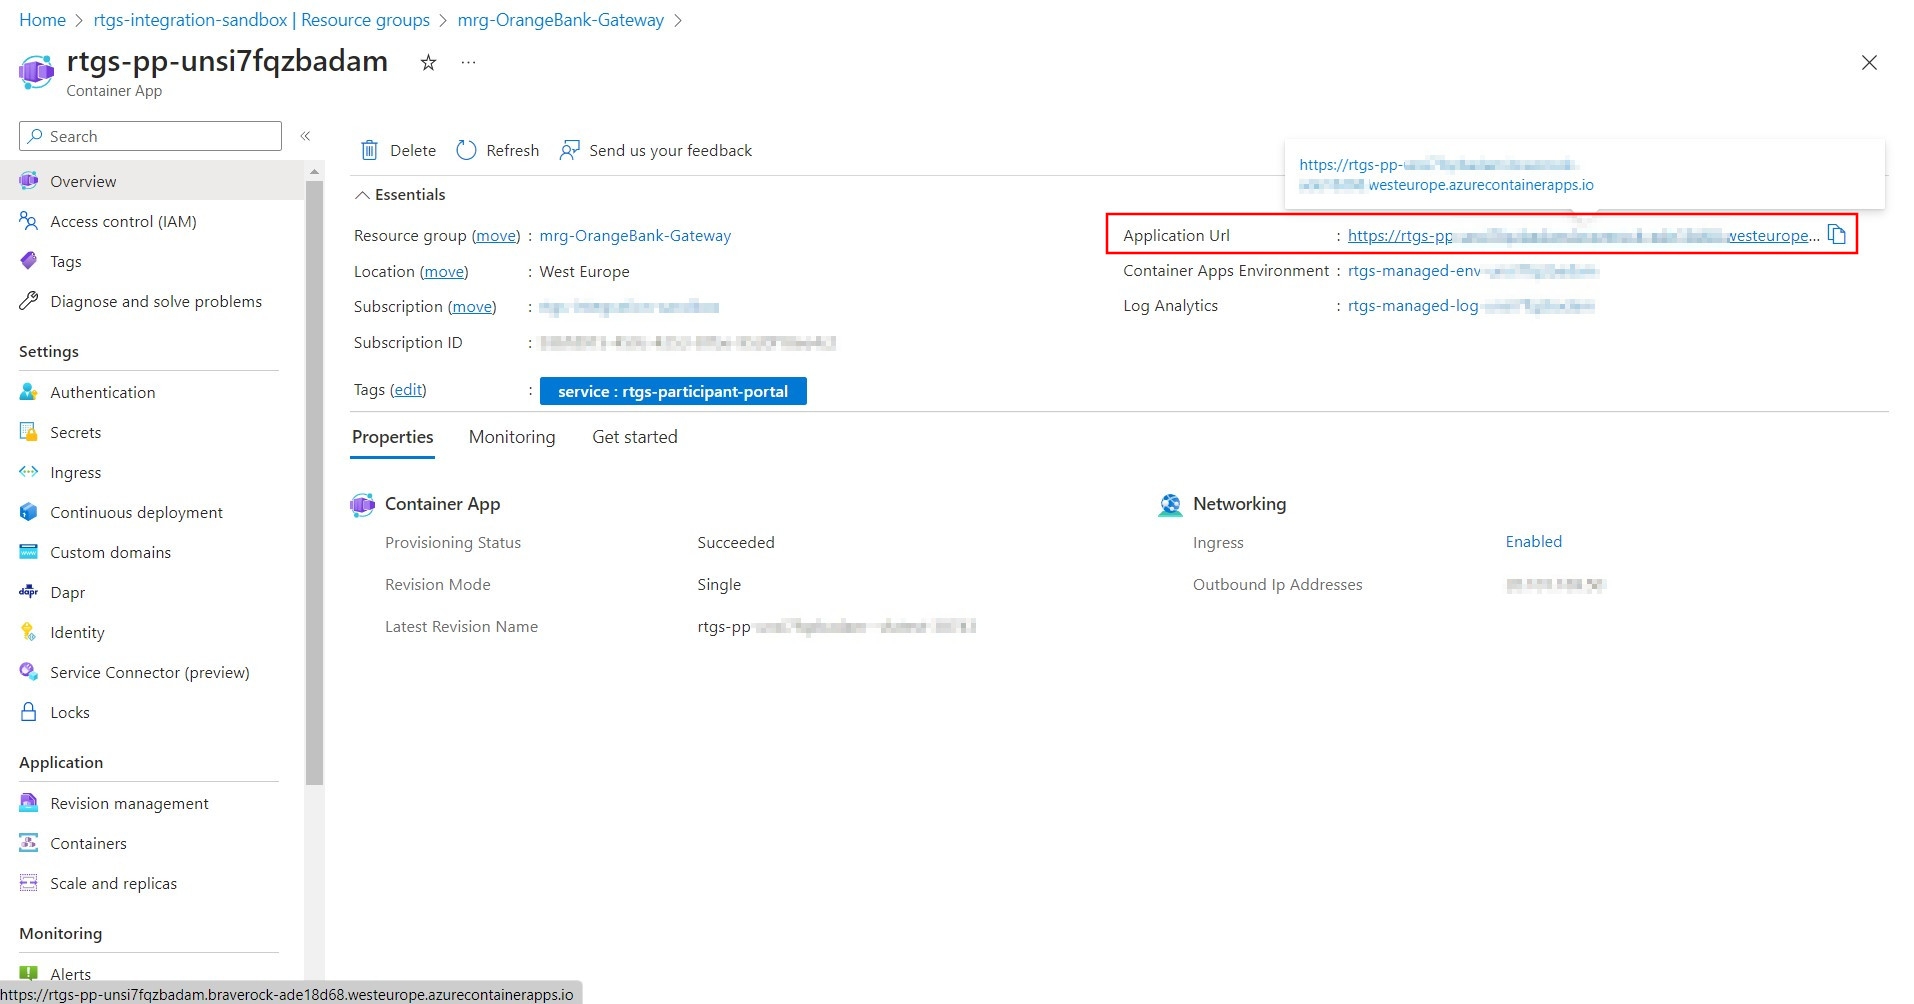
Clicking on the Participant Portal Container App resource will display the Application URL. This endpoint is not publicly accessible, please ensure you access it via a peered connection. For example a jumpbox with a vNet that has a peering with the RTGS.global vNet.
Step 2: Launching the Participant Portal
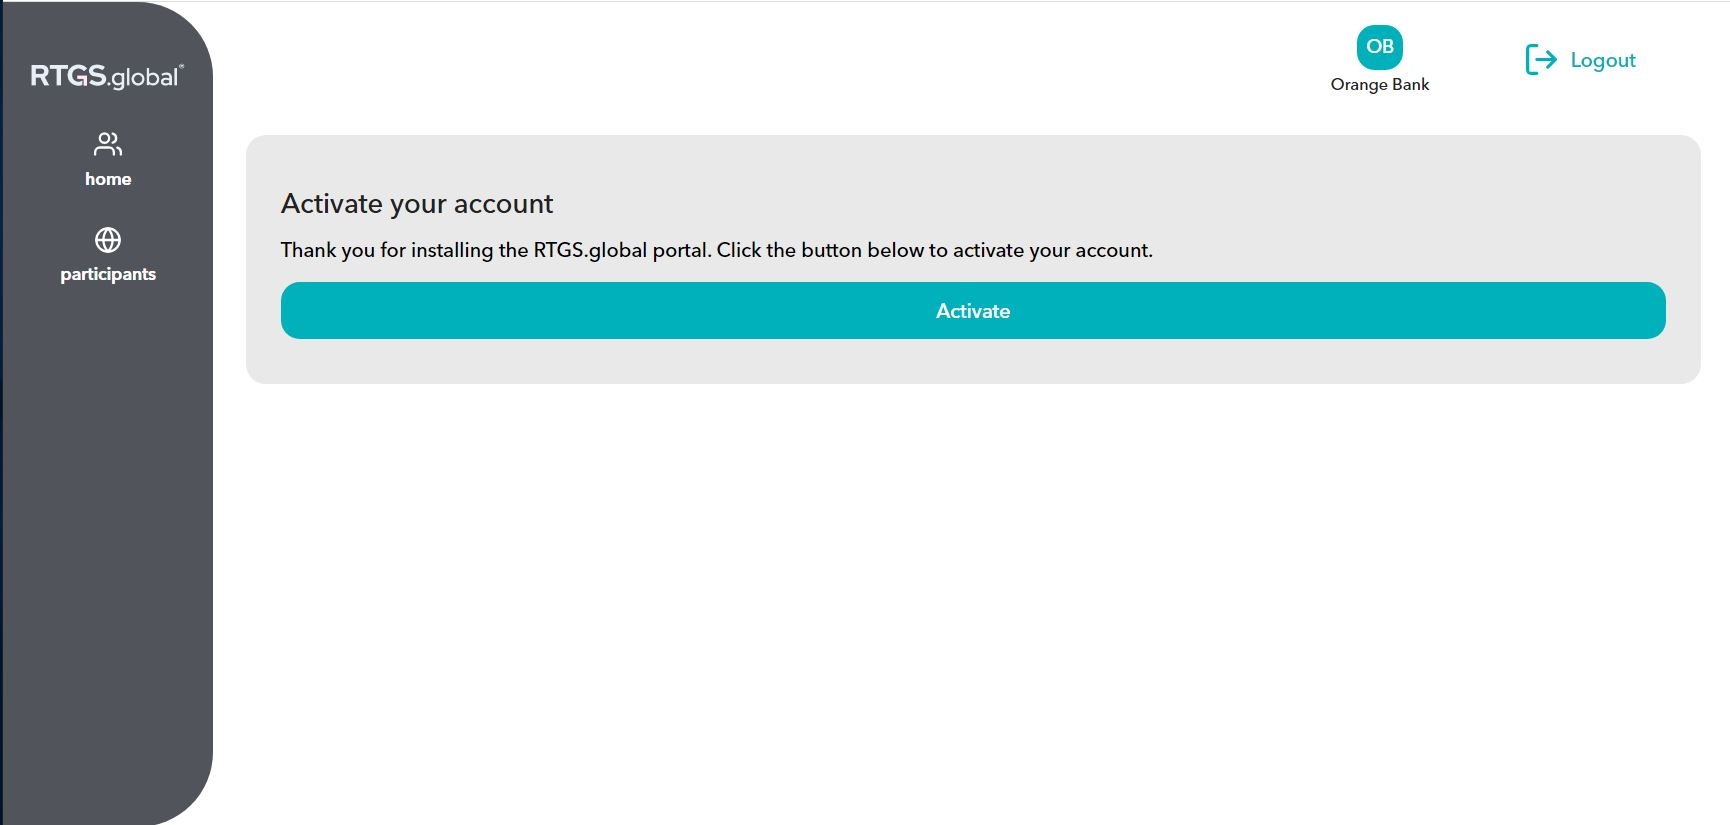
Clicking the Participant Portal URL will launch the application from where you can configure your relationships with other participants of the RTGS.global Network. Initially however you will need to inform the RTGS.global Network that your organisation is now a participant of the Network. To do this you will need to first send an activation request in to the RTGS.global Network. You do this by clicking on the button shown in the image below. Activation is an automatic process and occurs straight away. When you have completed your organisation's activation, you then can proceed setting up your participant relationships in the RTGS.global Network. The process of how to do this is explained in the Discovery Service sub section of the Product Services section of this guide.
Access to the Portal URL may be restricted depending on your organisation's security policies. Your own security/infrastructure team may be able to assist, or contact your RTGS.global integration manager for help.
The Participant Portal is also used for creating and maintaining relationships with other participants. For more information, click here.
Last updated