Deploying the Network Connector
The RTGS.global network connector provides a bridge between your RTGS.global Gateway and the RTGS.global network
The following steps detail the process to deploy the RTGS.global Network Connector. You must have a minimum of Contributor access in your Microsoft Azure subscription.
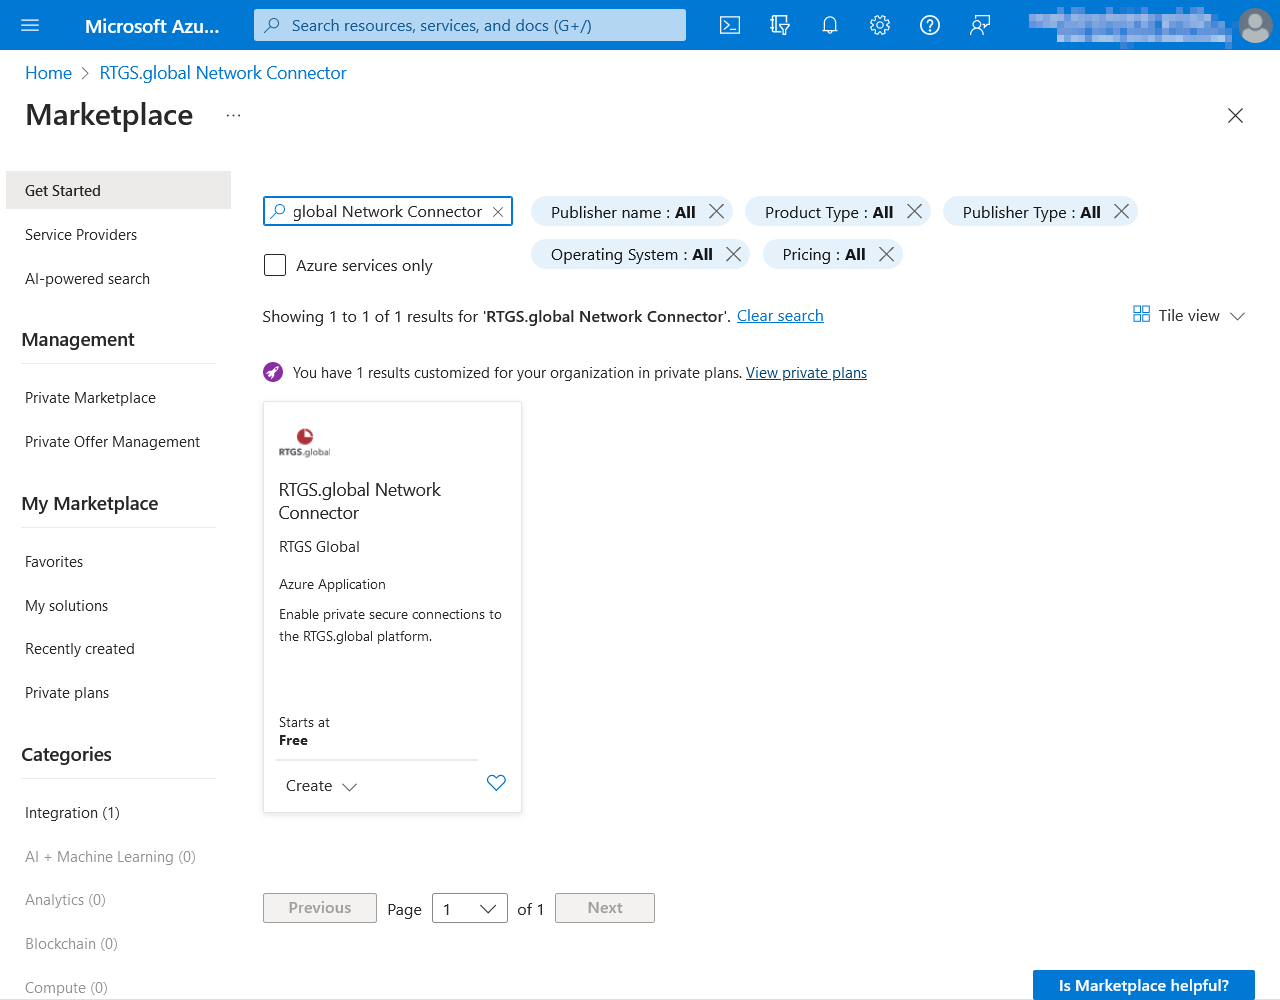
Locate the Network Connector deployment package on Azure Marketplace
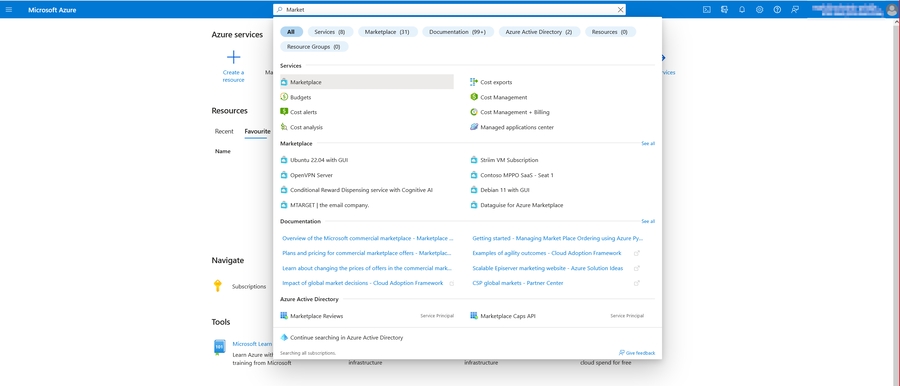
Navigate to the Azure Marketplace
You can use the search box in the Azure Portal to navigate any resource in Azure
Search the marketplace for "RTGS.global Network Connector"
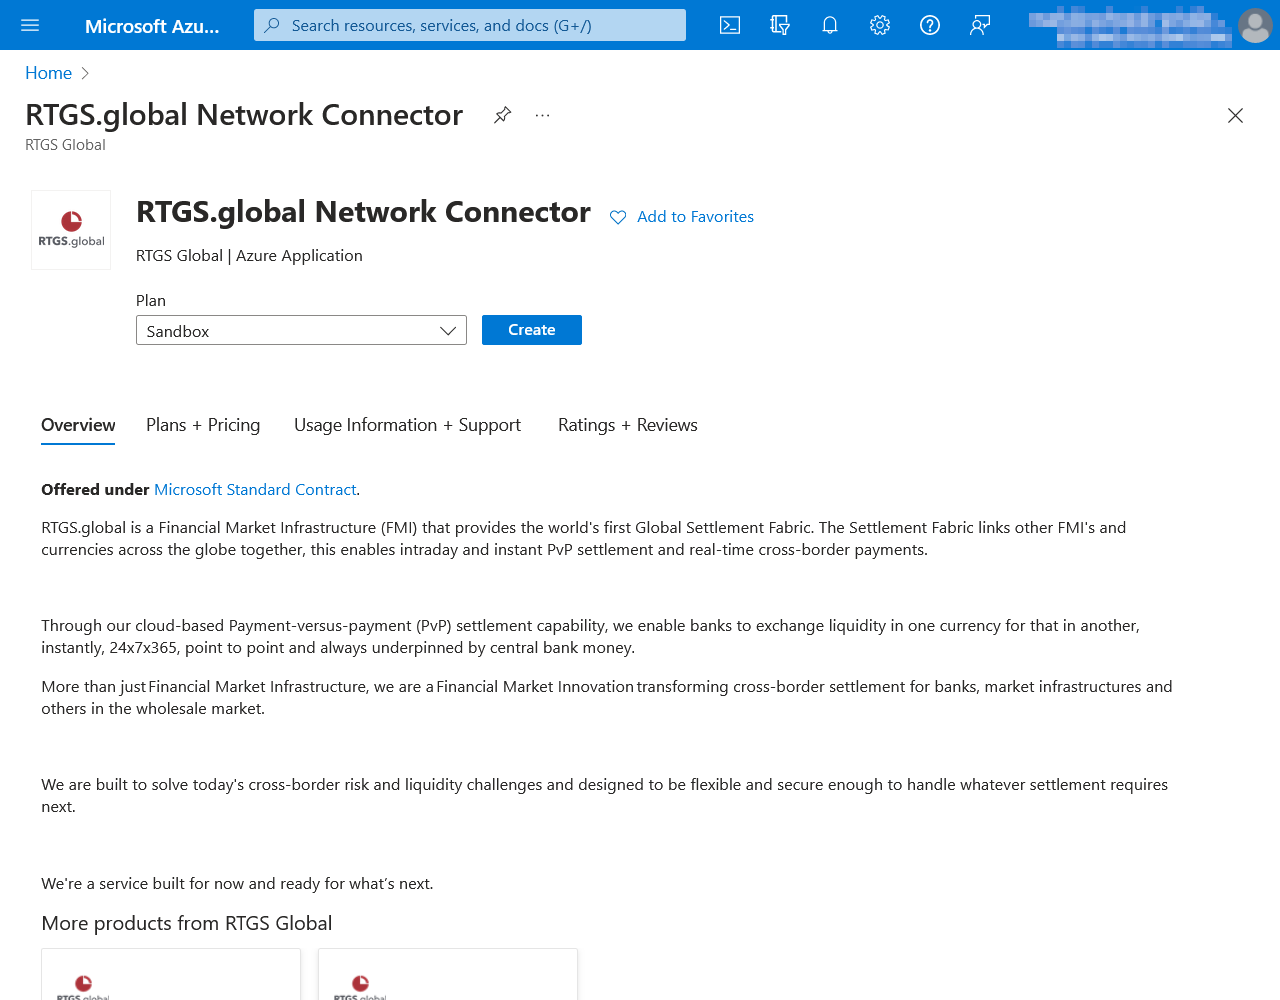
Click on the tile and choose a plan to create
The Sandbox option must be used for all non-production environments.
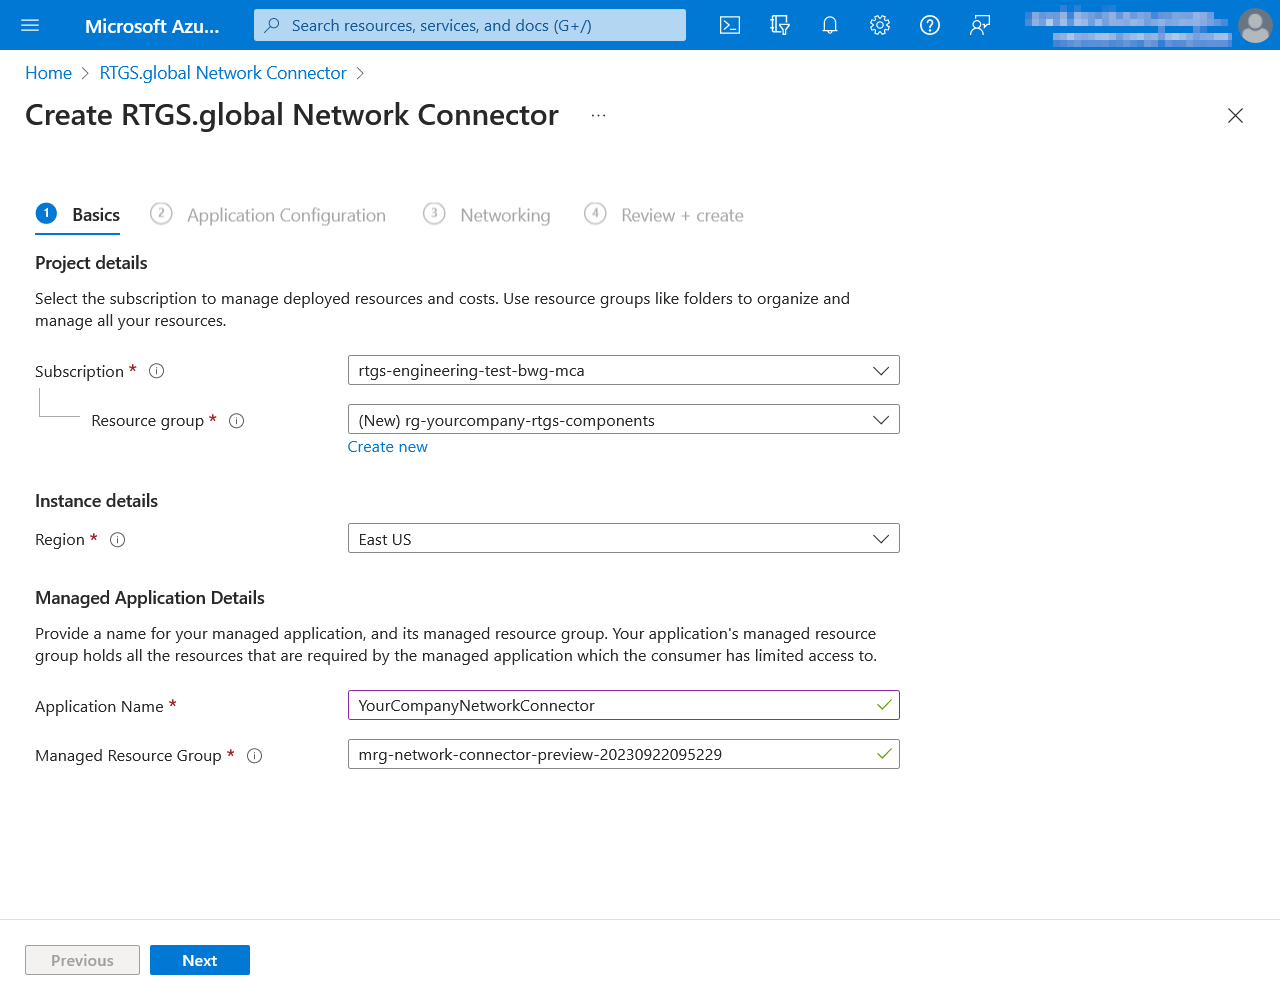
Tab 1: Basics
Your resource group and application can be named based on your companies own naming policies or can follow Azure Resource Naming Conventions.
| Field | Suggestion | Description / Notes |
|---|---|---|
Subscription | n/a | This is the dedicated subscription you chose as per the prerequisites page. |
Resource group | rg- | Resource groups are logical containers within Azure. You can reuse the same resource group for all your RTGS.global deployments. |
Region | n/a | We recommend picking the Azure Region closest to your jurisdiction for performance reasons. See the Overview page for information regarding data storage and processing. |
Application Name |
| Display name of this application within your Azure account. |
Managed Resource Group | as defaulted | Shared with RTGS.global who also have responsibility for maintenance and management. |
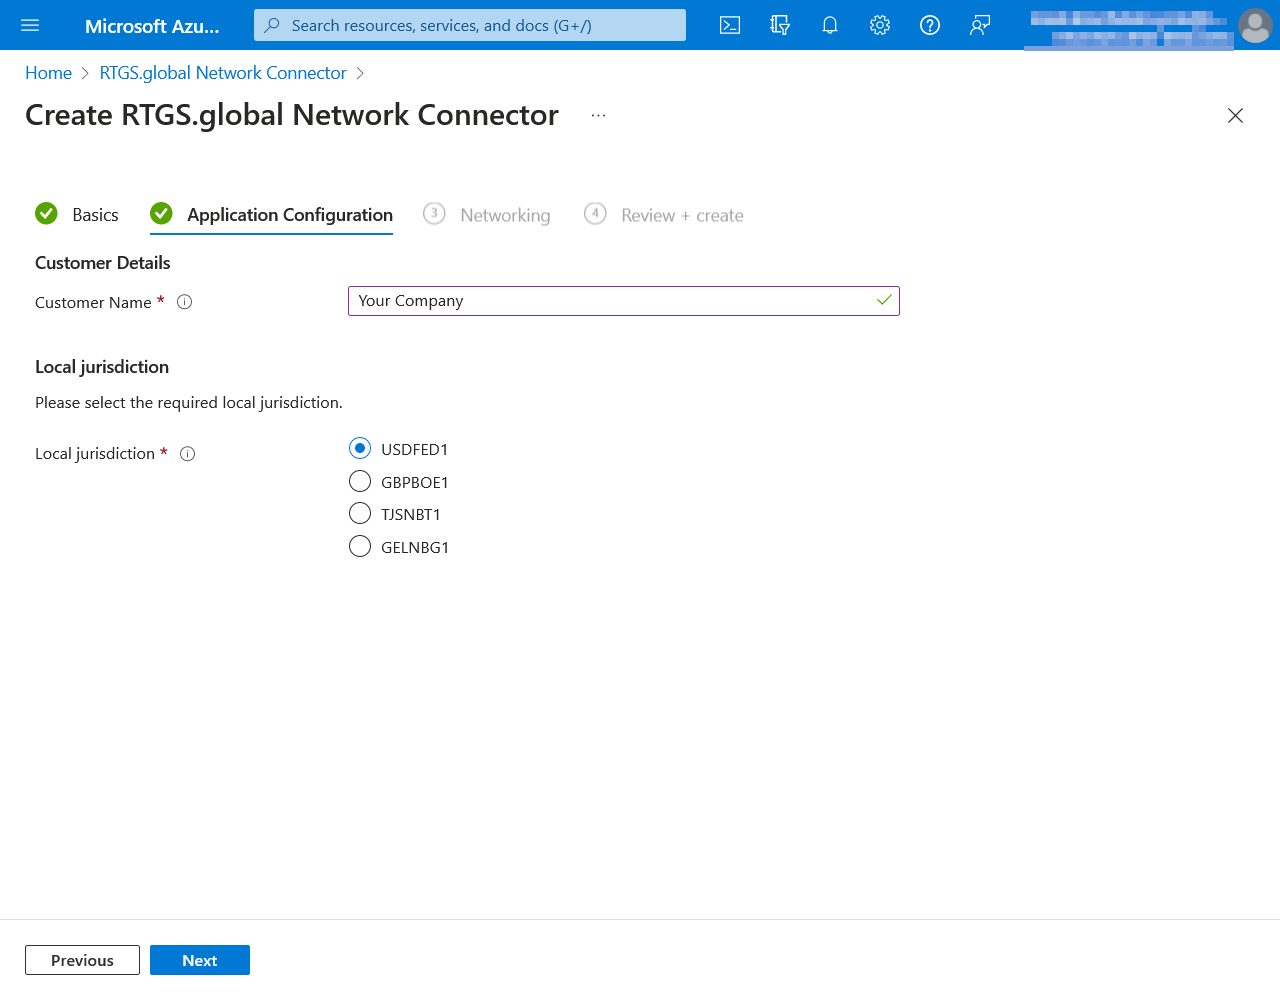
Tab 2: Application Configuration
| Field | Suggestion | Description / Notes |
|---|---|---|
Customer Name | n/a | The name of your organisation that is registered with RTGS.global. It should be exactly the same as provided in the customer set up form. |
Local jurisdiction | n/a | This is the jurisdiction your organisation is domiciled in. |
Tab 3: Networking
As described in Prerequisites - Networking Requirements you will already have an agreed range to be used for this component. In our example, the range given was10.1.0.0/24.
The wizard will have automatically selected a range it believes to be available but this is unlikely to be the range you want.
Click on the Create new link to override the default value. Note that when you alter the Address range value in the field the ADDRESS SPACE section, any existing Address range fields in the SUBNETS section will be automatically cleared and need to be re-entered. In this case is will be same value as the as the ADDRESS SPACE range, e.g. 10.1.0.0/24.
Note that the name of the virtual network will be needed to deploy the Gateway.
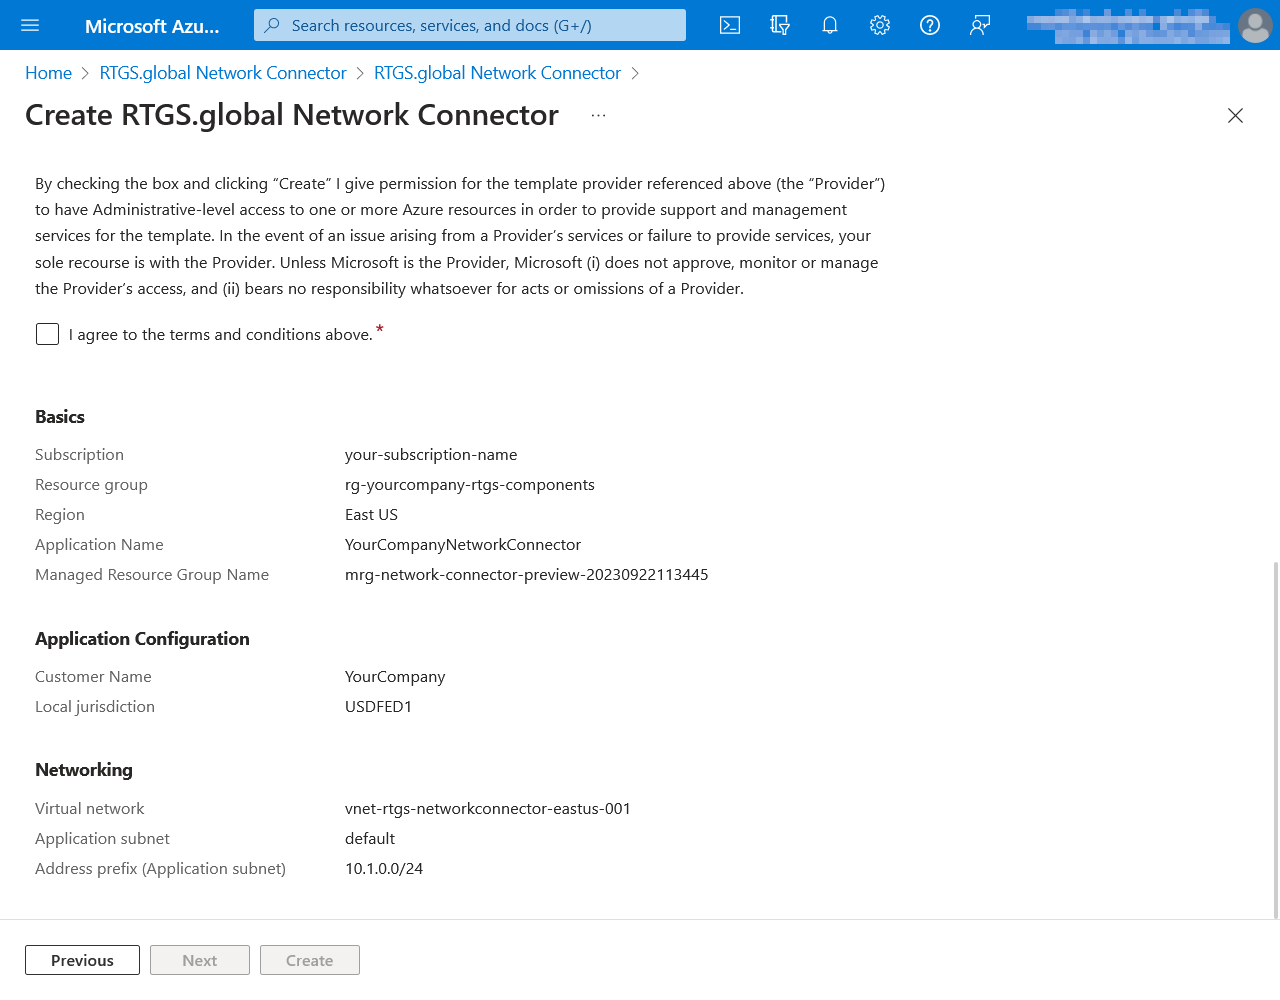
Tab 4: Review and Create
Please read the terms, which include RTGS.global having Contributor access to the managed resources that are created as a part of deploying the Network Connector. When you are satisfied, check the agreement to the terms and conditions of use, and click the Create button.
Please allow up to 10 minutes for this deployment to complete.
Last updated